

/sign/[token]) takes a recipient through any required gates, then into the signing experience itself.
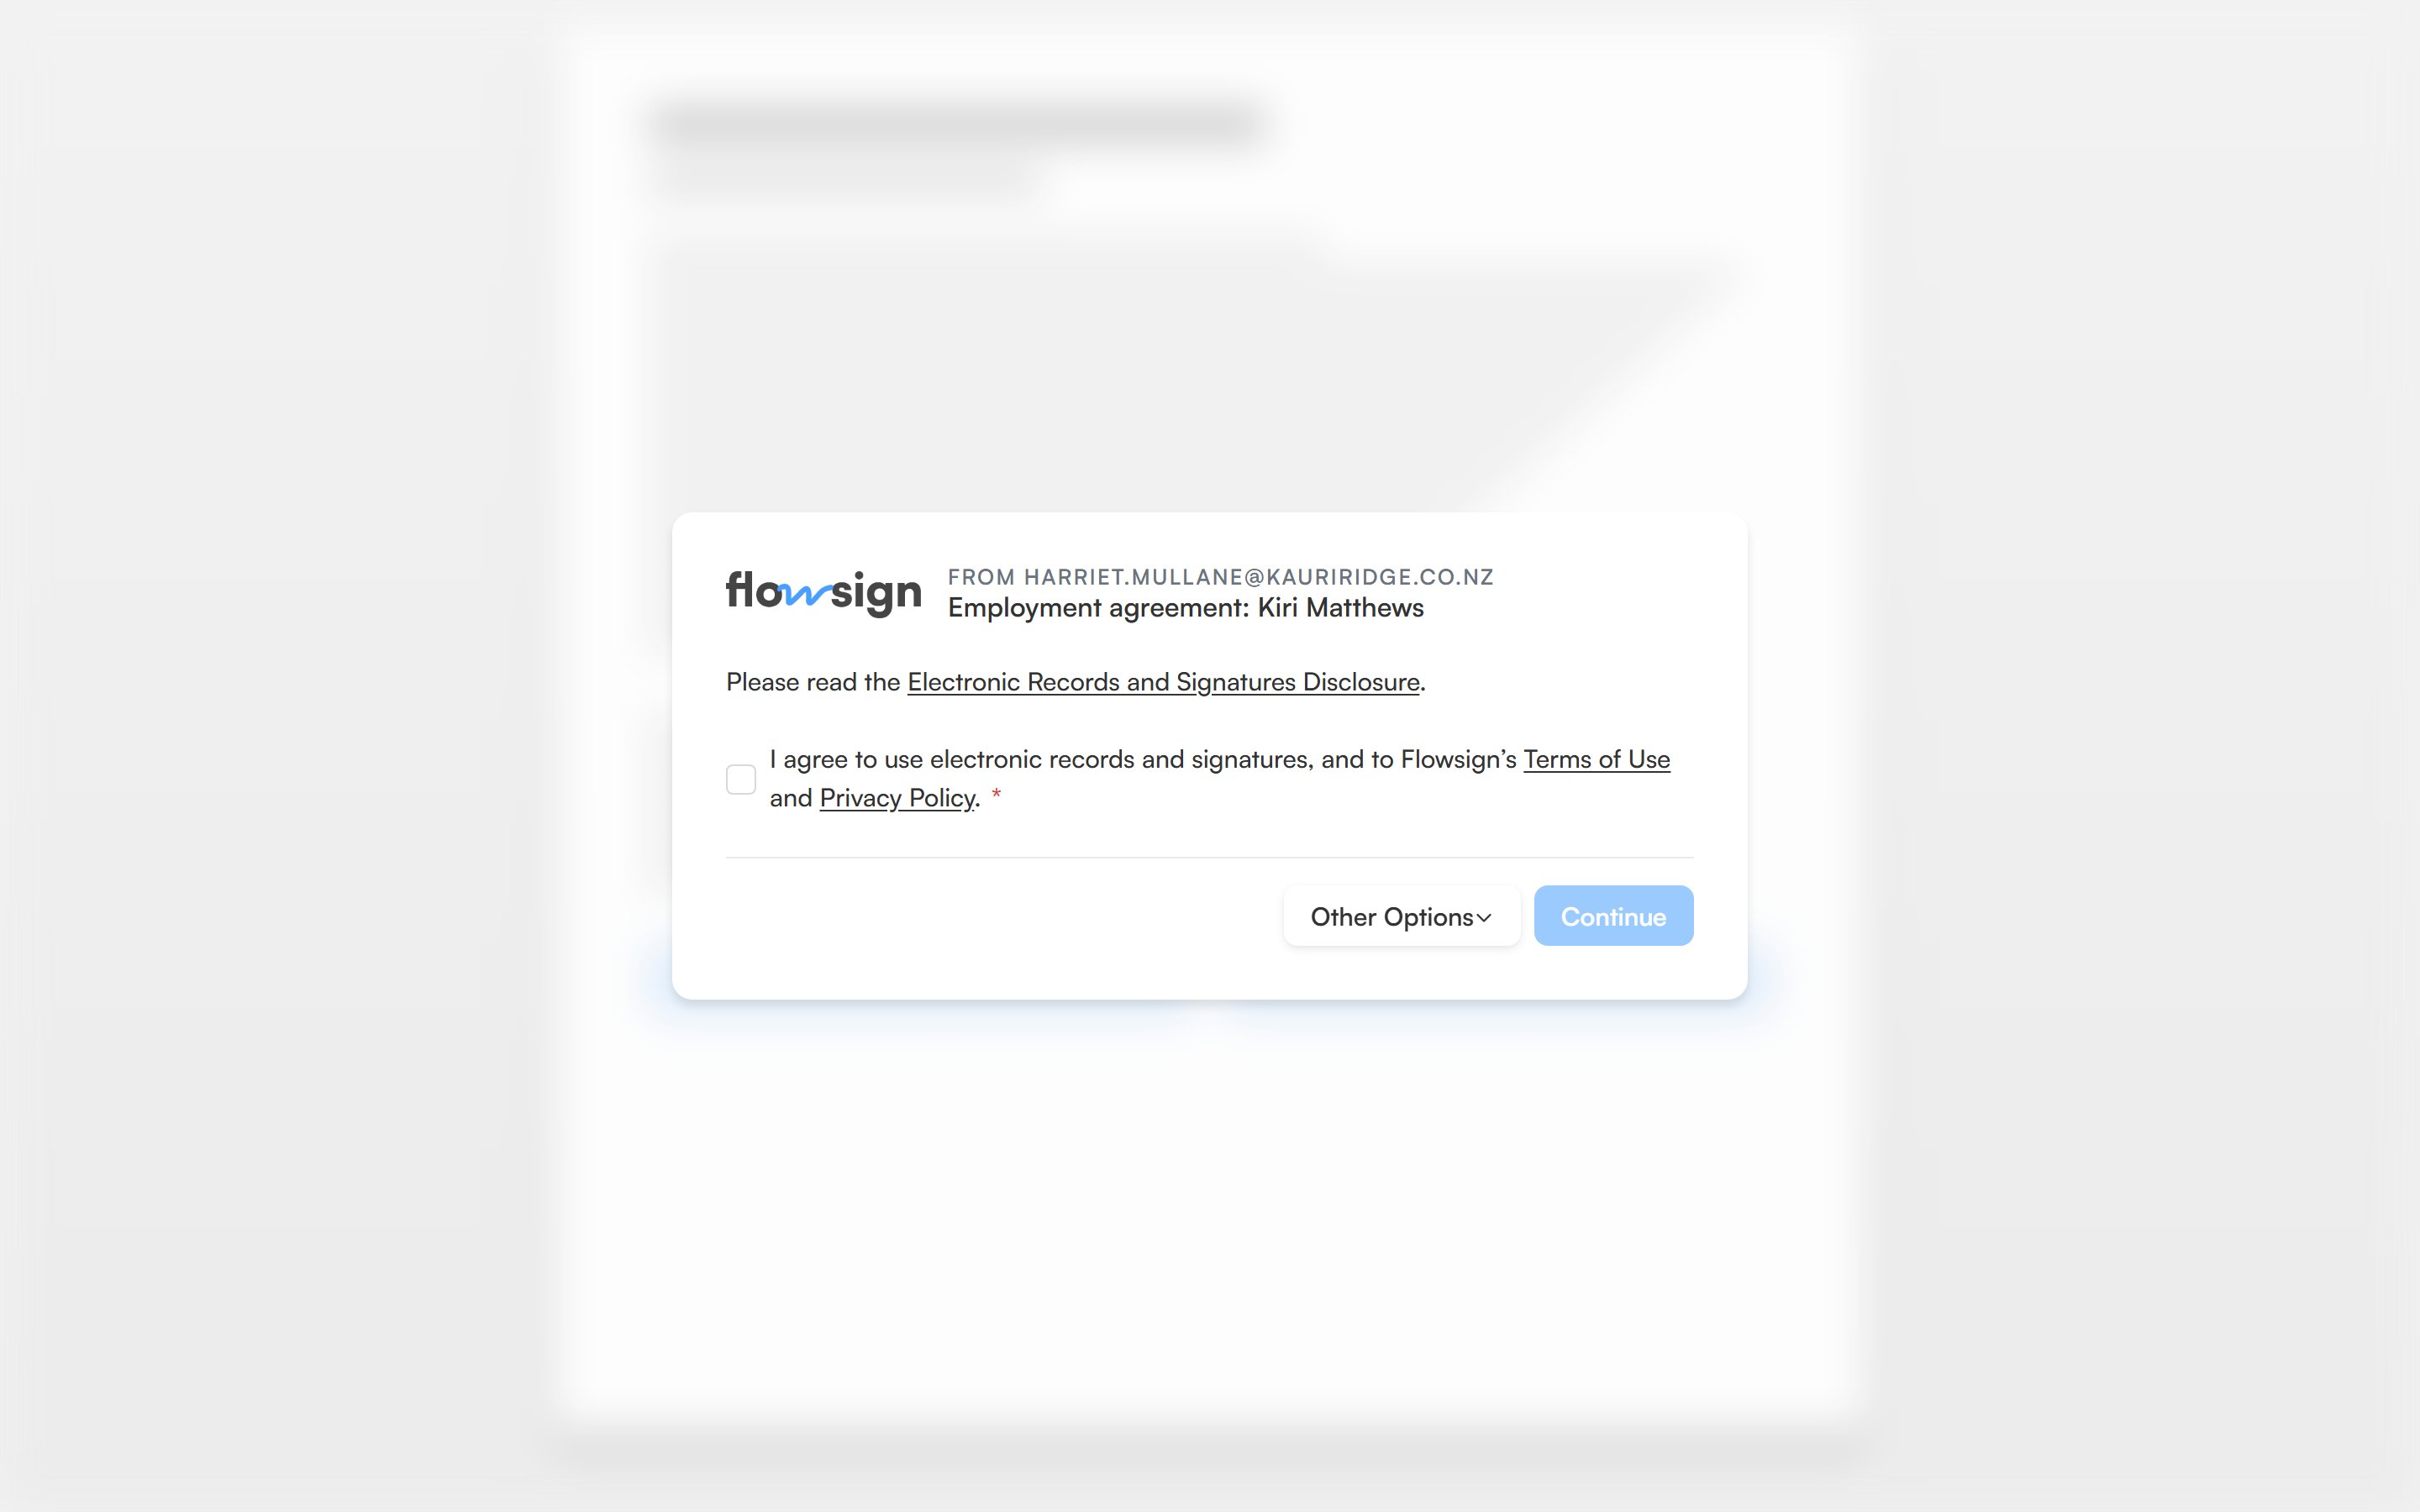
The consent gate, one of the steps a recipient can meet before their documents.
Gates
Depending on how the package or template was configured, a recipient may see one or more of these before reaching their documents:- Password required, if the sender protected the package with an access code. The recipient enters it and selects Continue. Too many wrong attempts lock the link for 15 minutes.
- SMS verification required, if the sender turned on SMS verification. A 6-digit code is texted to the recipient’s phone. They enter it and select Continue, or select Resend code for a new one.
- A consent screen, asking the recipient to tick “I agree to use electronic records and signatures”, along with Flowsign’s Terms of Use and Privacy Policy, then select Continue. The screen links to the Electronic Records and Signatures Disclosure. Other Options offers Decline and Session information.
- Workflow questions, if the sender’s workflow asks something before signing starts.
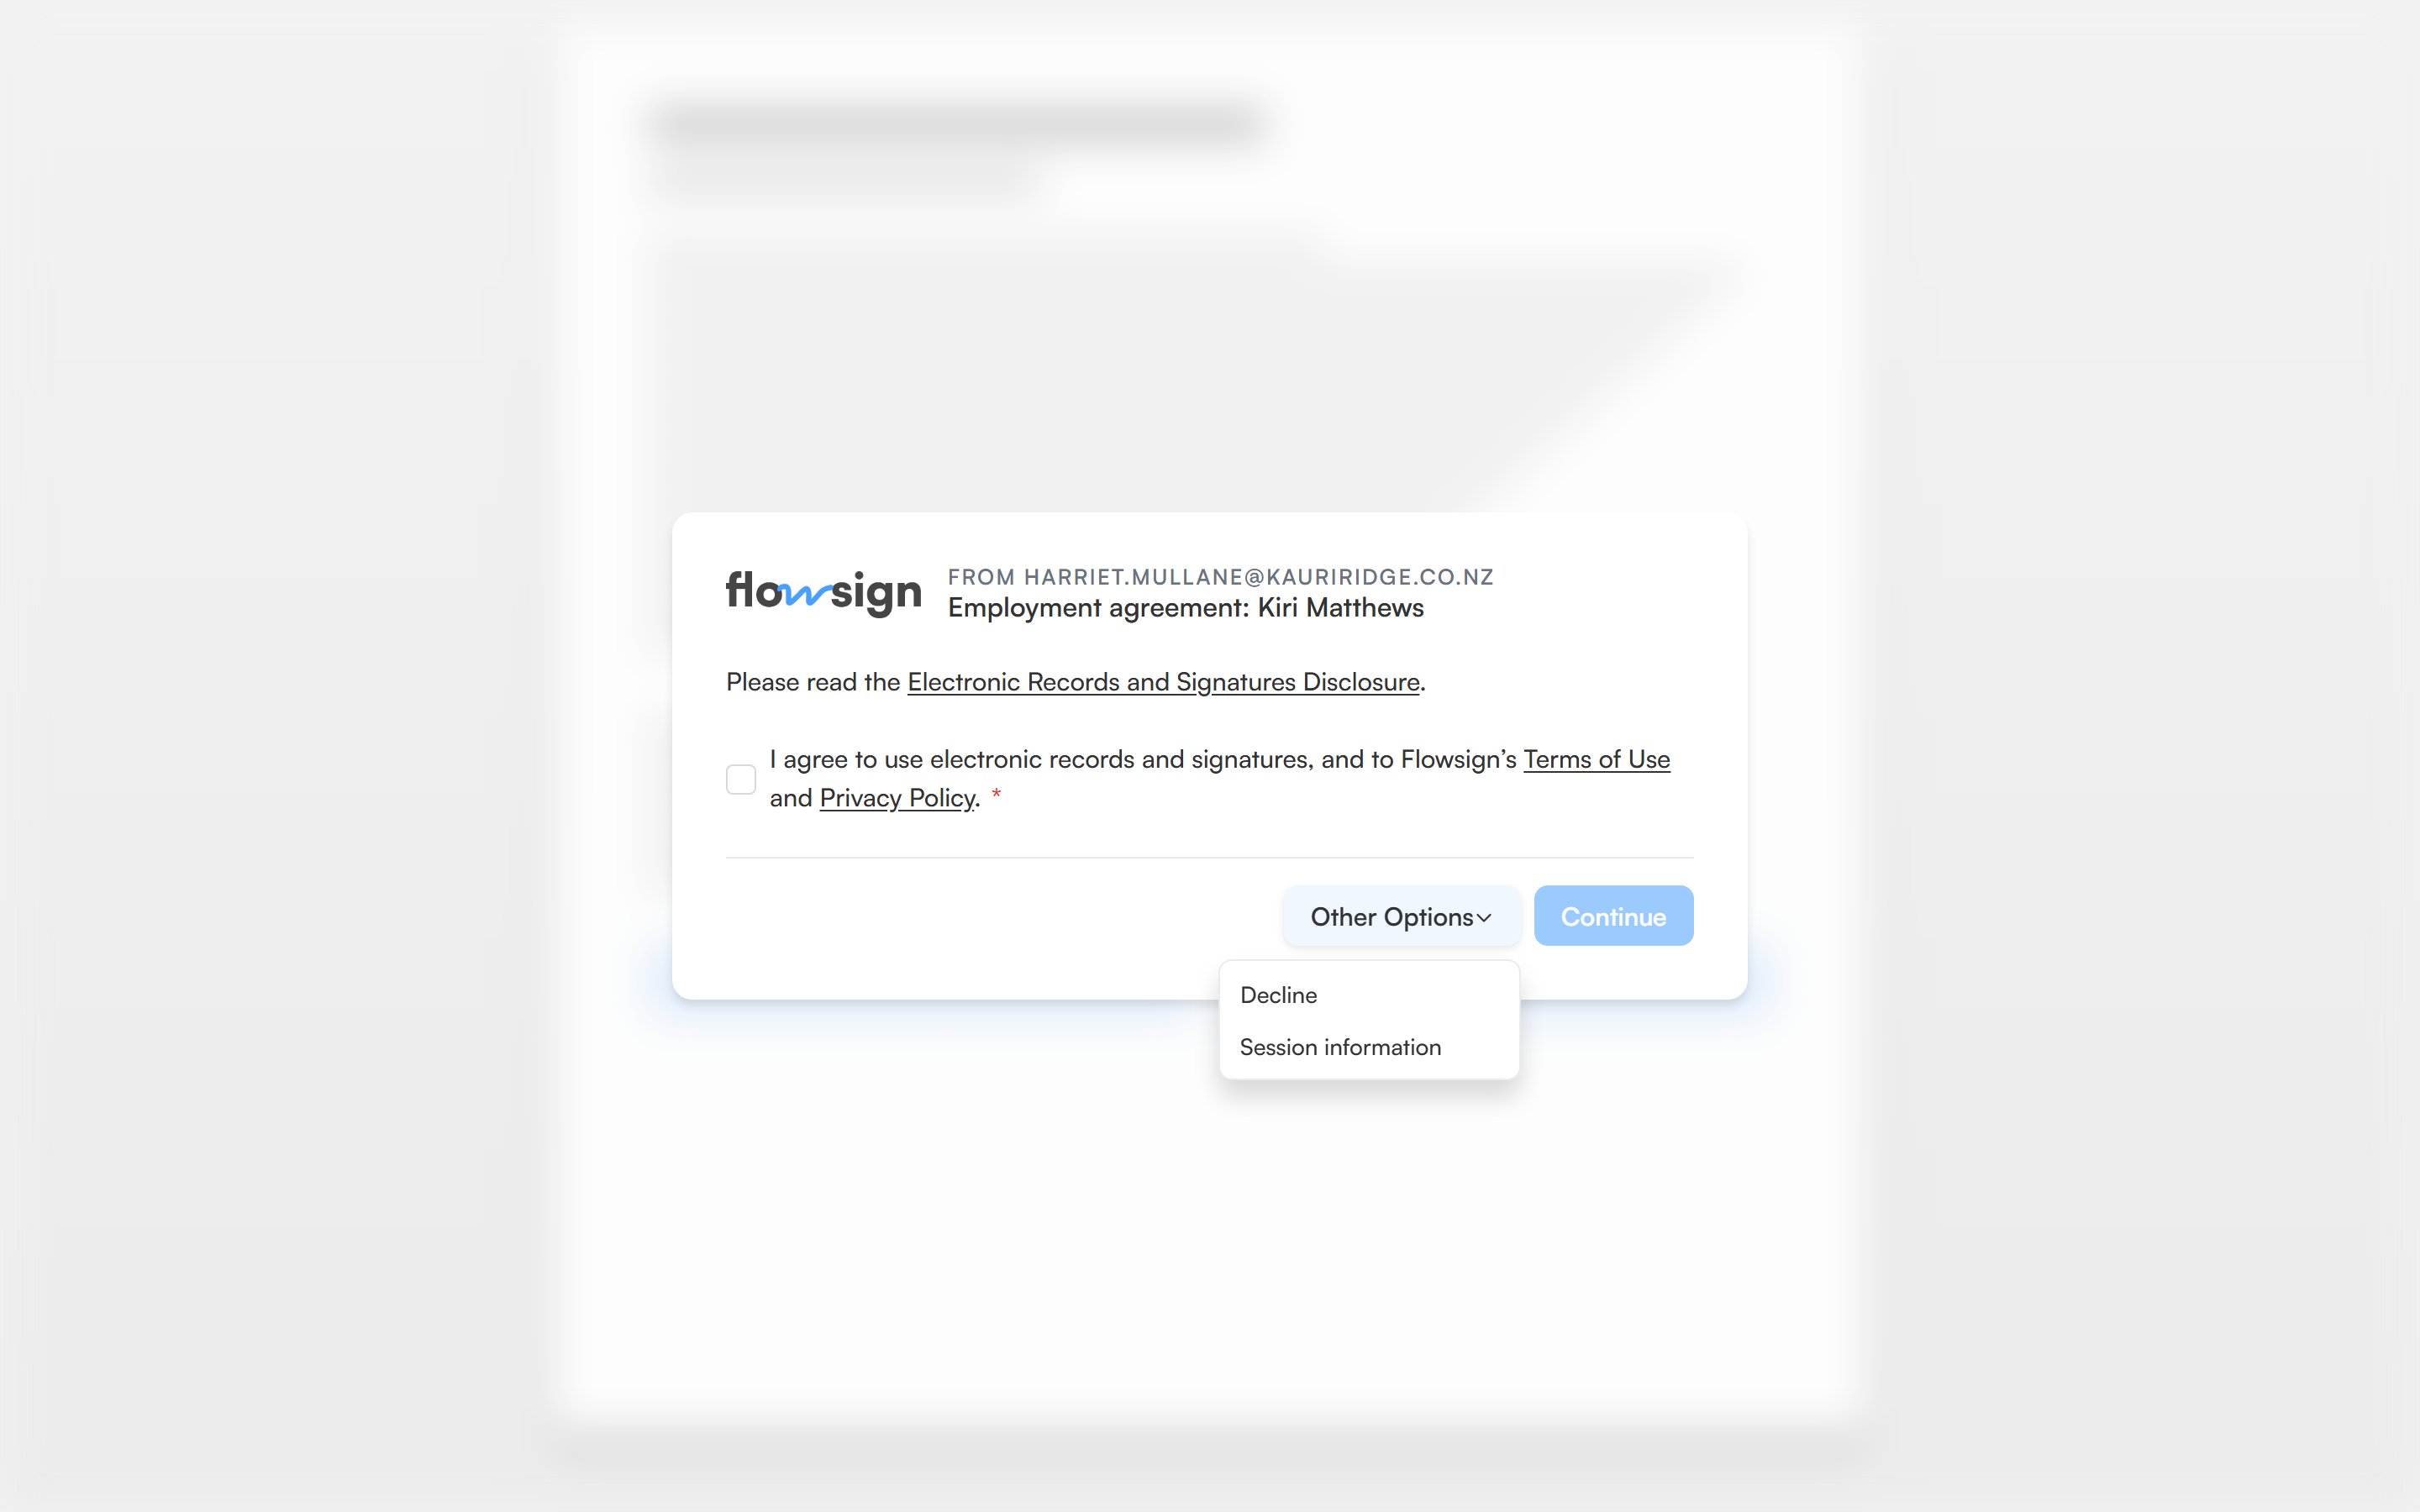
Other Options on the consent screen offers Decline and Session information.
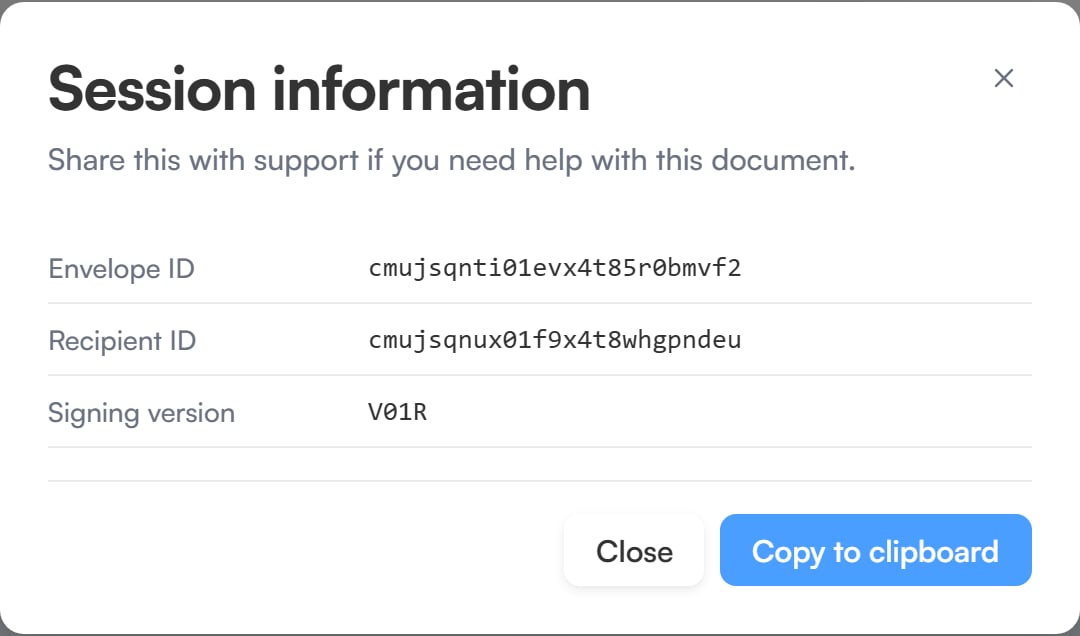
Session information lists the IDs to share with support.
When a link can’t be used
Instead of any of the above, the recipient may see one of these:Signing
Once past the gates, the recipient sees their assigned documents with their fields highlighted. A progress bar counts the required fields left, and a tab row switches between documents when there’s more than one.- The Pages rail on the left shows page thumbnails for jumping around the document.
- The tools rail on the right holds Your tasks (the list of fields to fill, with Next to jump to the next open one), Search in document, Notes from sender and Download, which saves a blank copy without signatures for printing.
- On a phone, a bottom bar opens Tasks and Pages, and the More options menu holds Search in document, Download and Decline to sign.
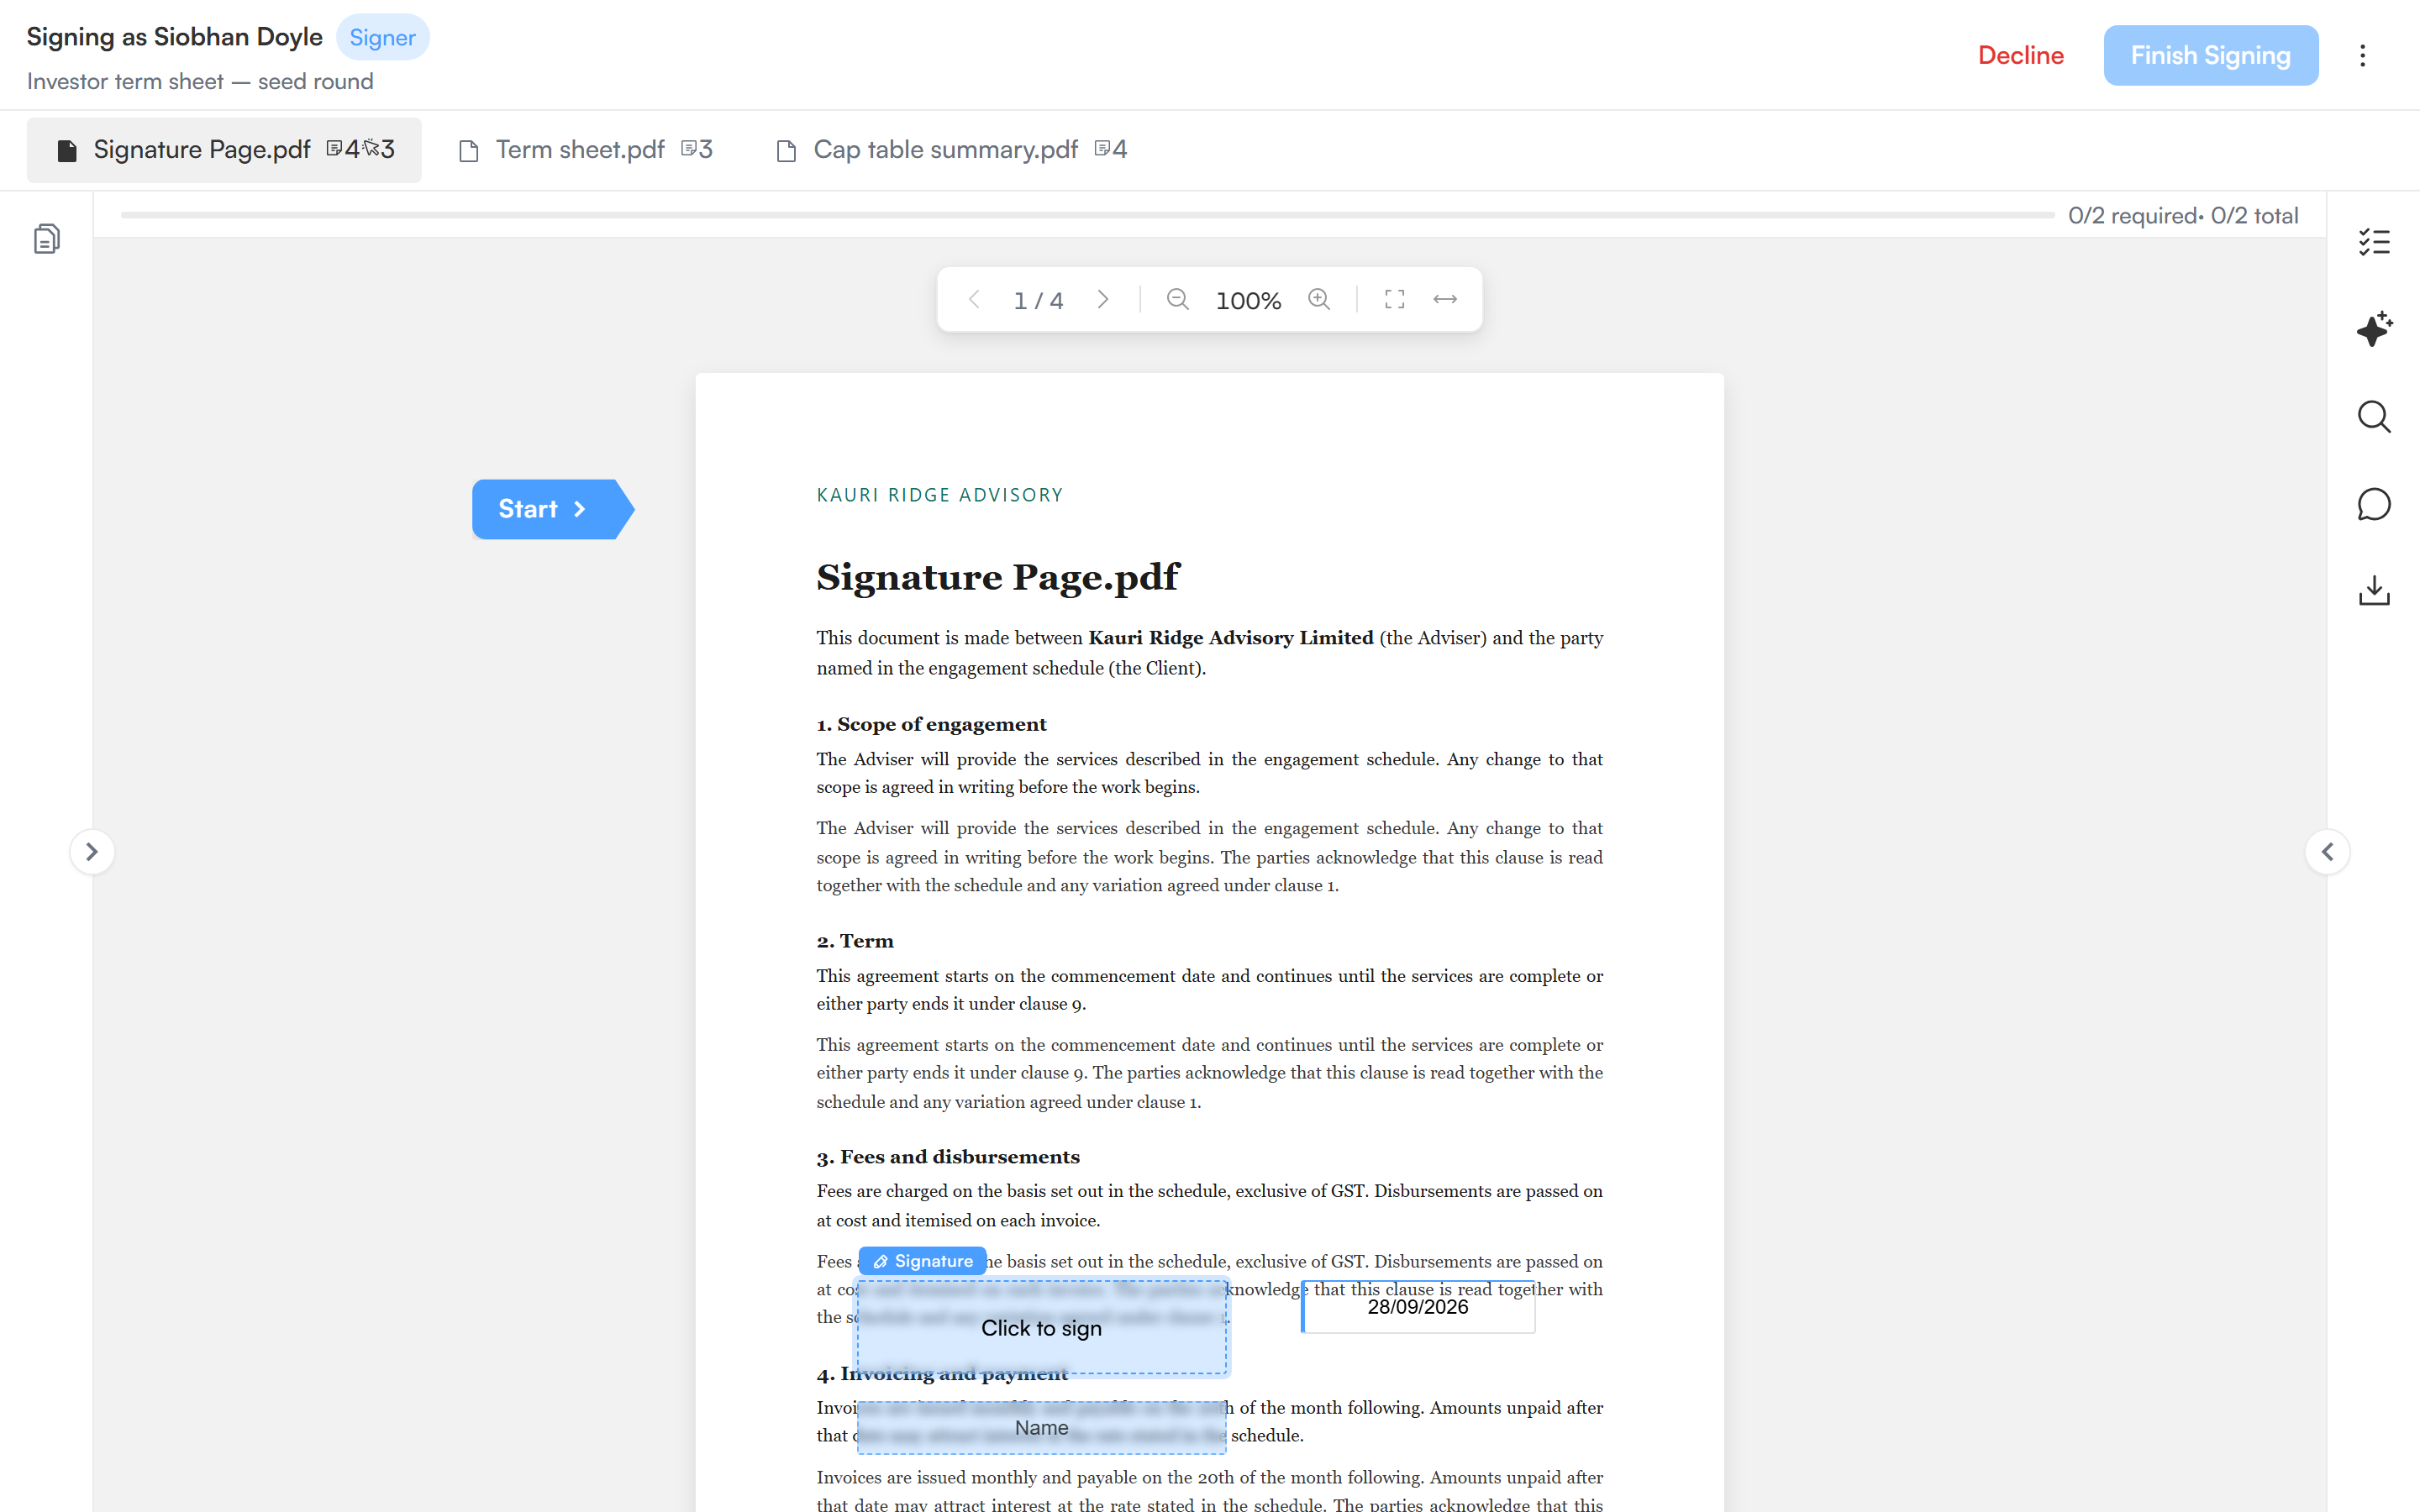
The signing screen, with the recipient's fields highlighted and the Start tab beside the first one.
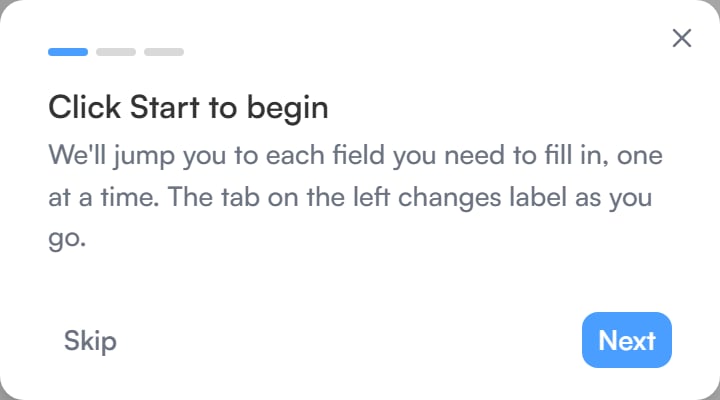
The first-visit walkthrough explains the Start tab that jumps between fields.
- Select style: their typed name in a choice of signature styles.
- Draw: draw the mark with a mouse, trackpad or finger.
- Upload: a PNG or JPEG image under 5 MB.
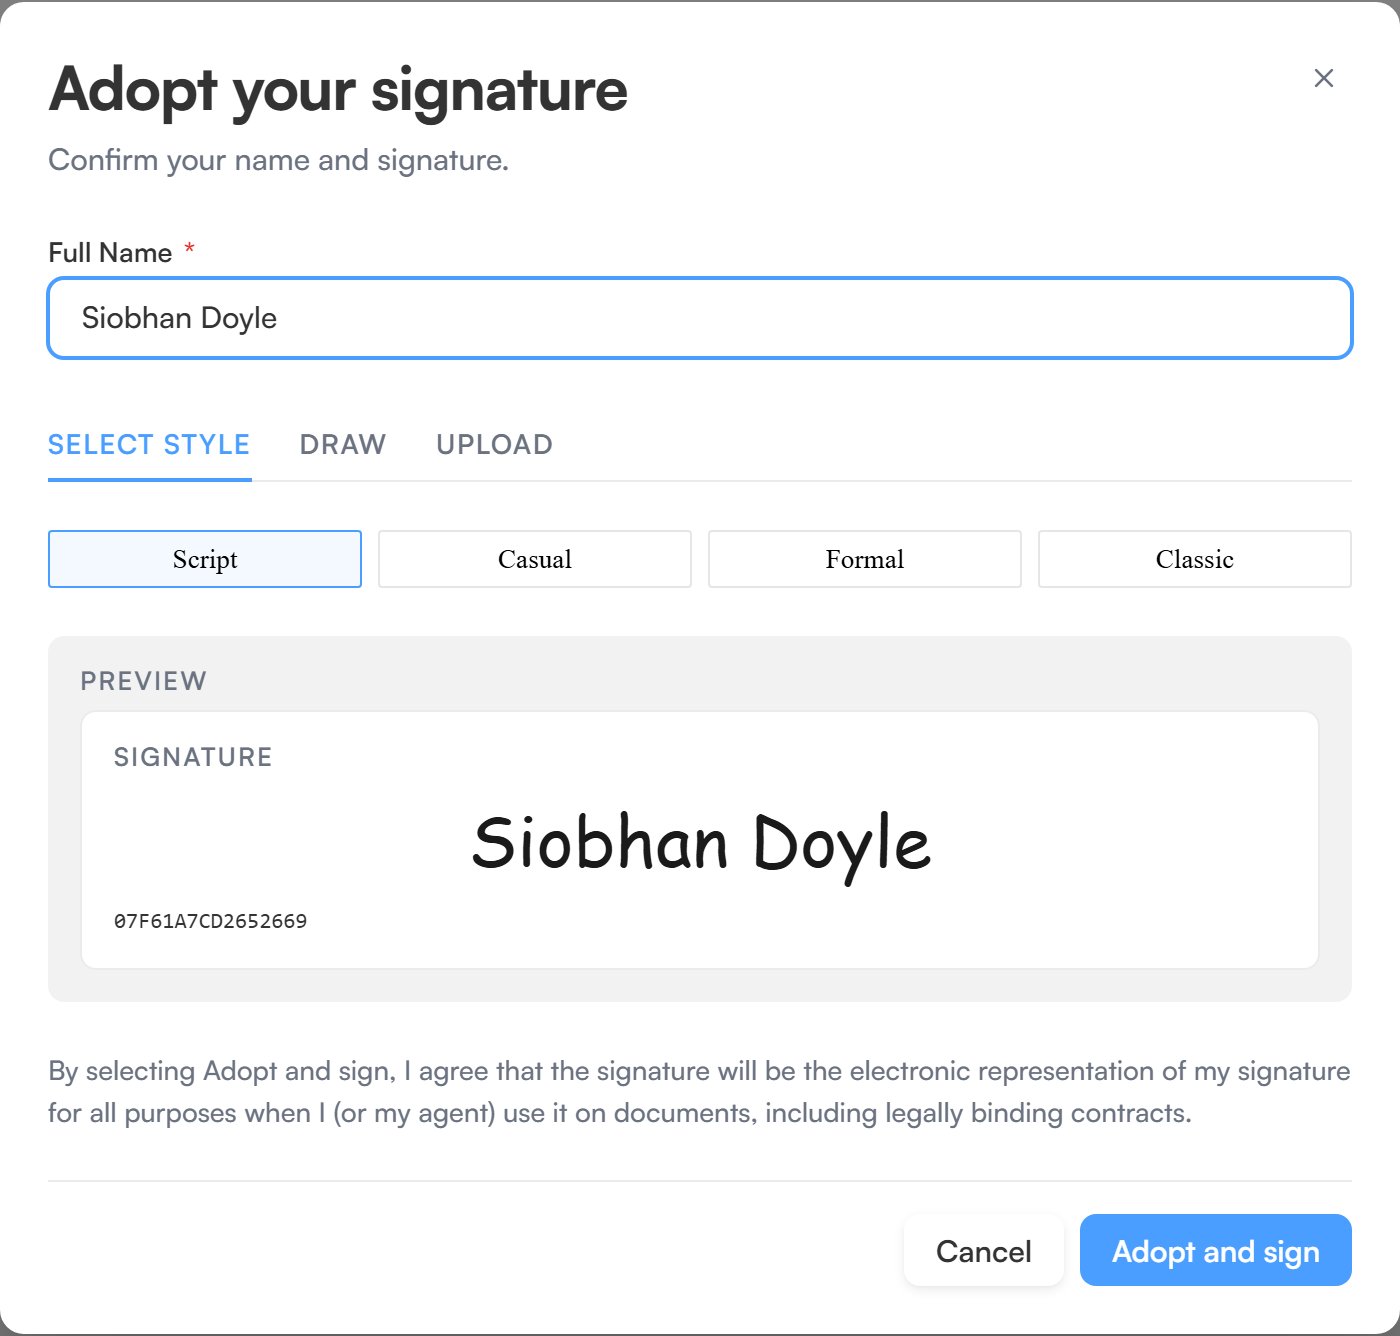
Adopt your signature, on the Select style tab.
Declining
A recipient can decline instead of signing, using Decline in the header (or Decline to sign in the More options menu on a phone). The Decline to Sign dialog reads “Pick a reason so the sender knows how to follow up. This can’t be undone.”- Pick a Reason: “This document was not intended for me”, “I don’t agree with the terms”, “The document contains errors or needs changes”, “I did not authorise this request” or “Other”.
- Add a note for the sender. It’s optional for most reasons, but required for “The document contains errors or needs changes” and “Other” (up to 500 characters).
- Select Confirm Decline.
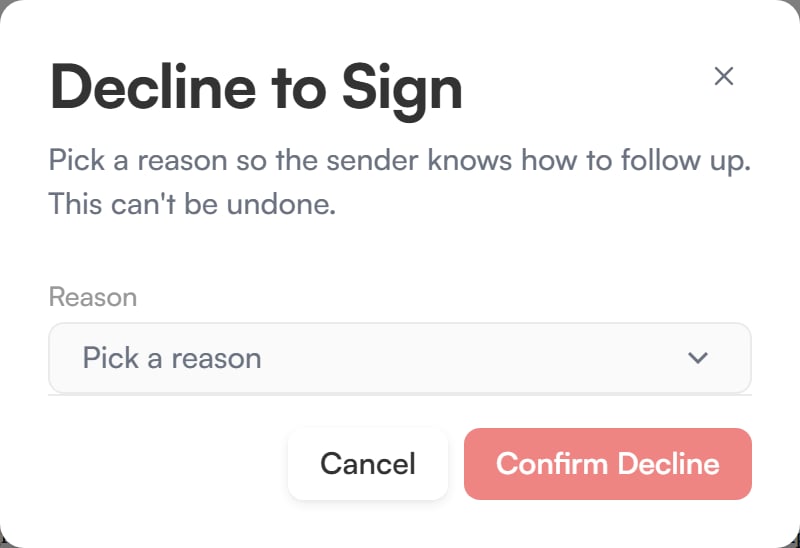
The Decline to Sign dialog, before a reason is picked.